Coffee Station Organization: 12 Ideas That Hold Up
Coffee station organization that survives a Tuesday morning: pod drawer inserts, canister sizing, tray zoning, cup hooks, and labeling that isn't clutter.
Skip to the goods in this piece (8) ↓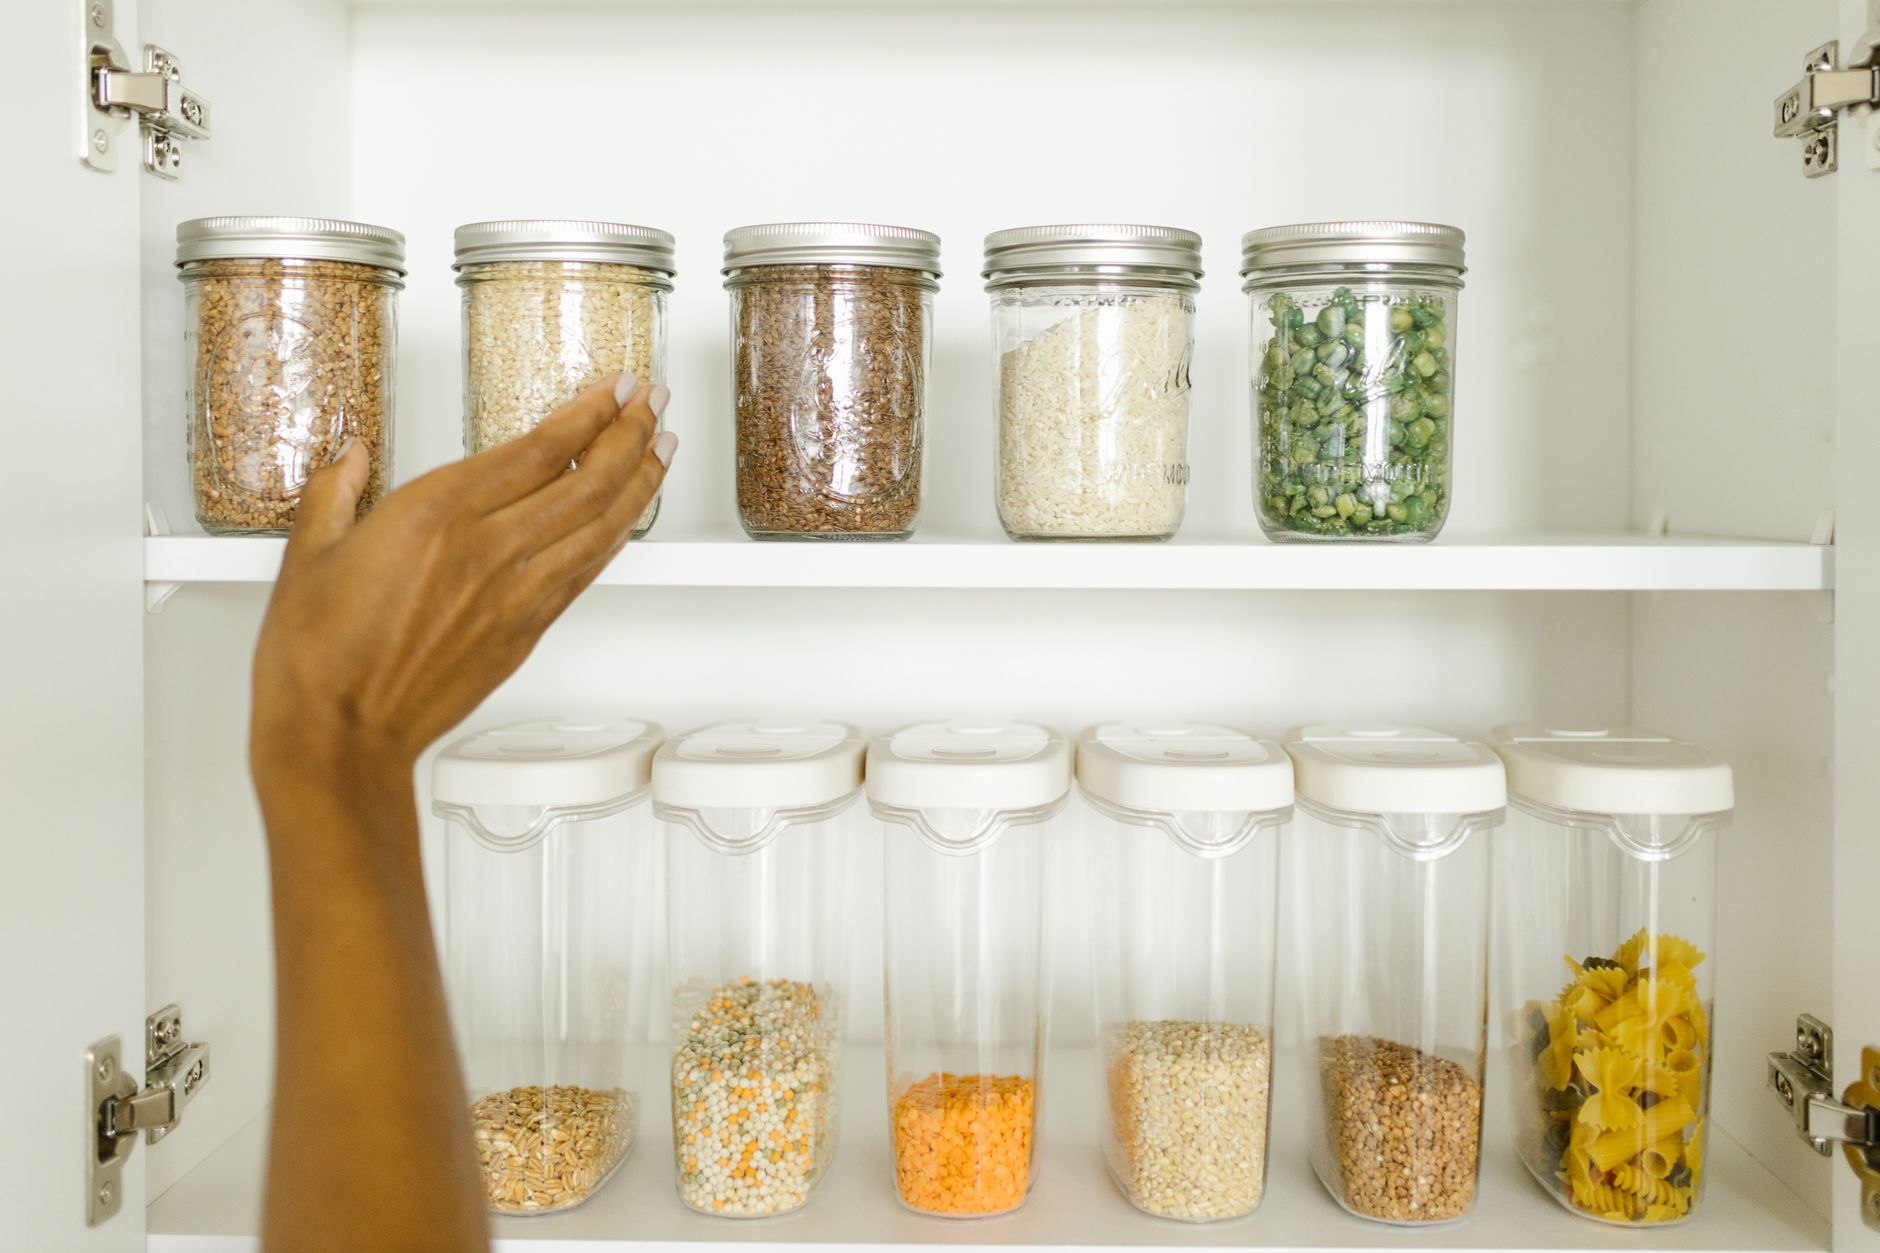
Coffee station organization fails in a specific way: everything looks correct on Sunday and by Thursday there’s a pod box on its side, three spoons, and a bag of beans rolled shut with a clip. The systems below are the ones that survive that, mostly because they take fewer motions to use than to abuse. Twelve of them, roughly in the order they pay off.
1. Size the pod insert to the pod, not to the drawer
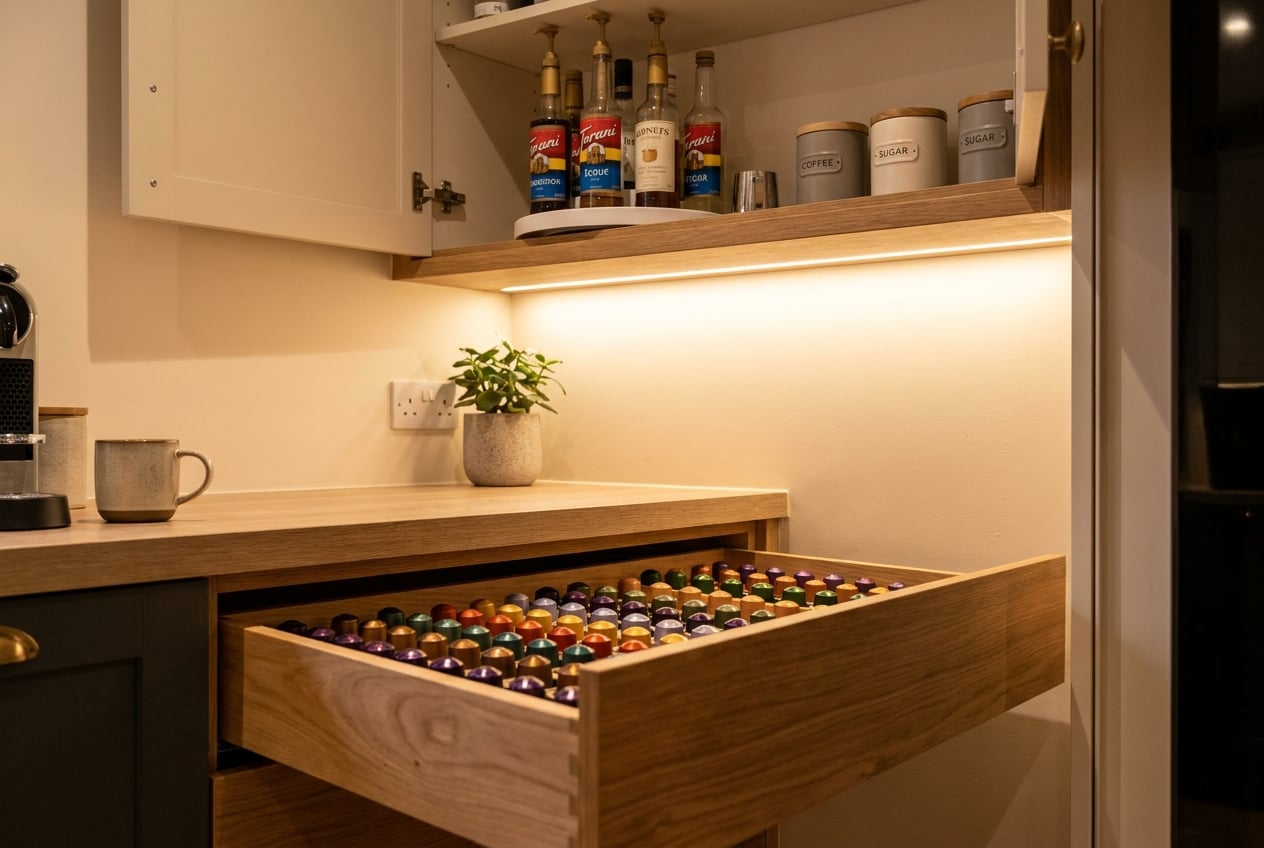
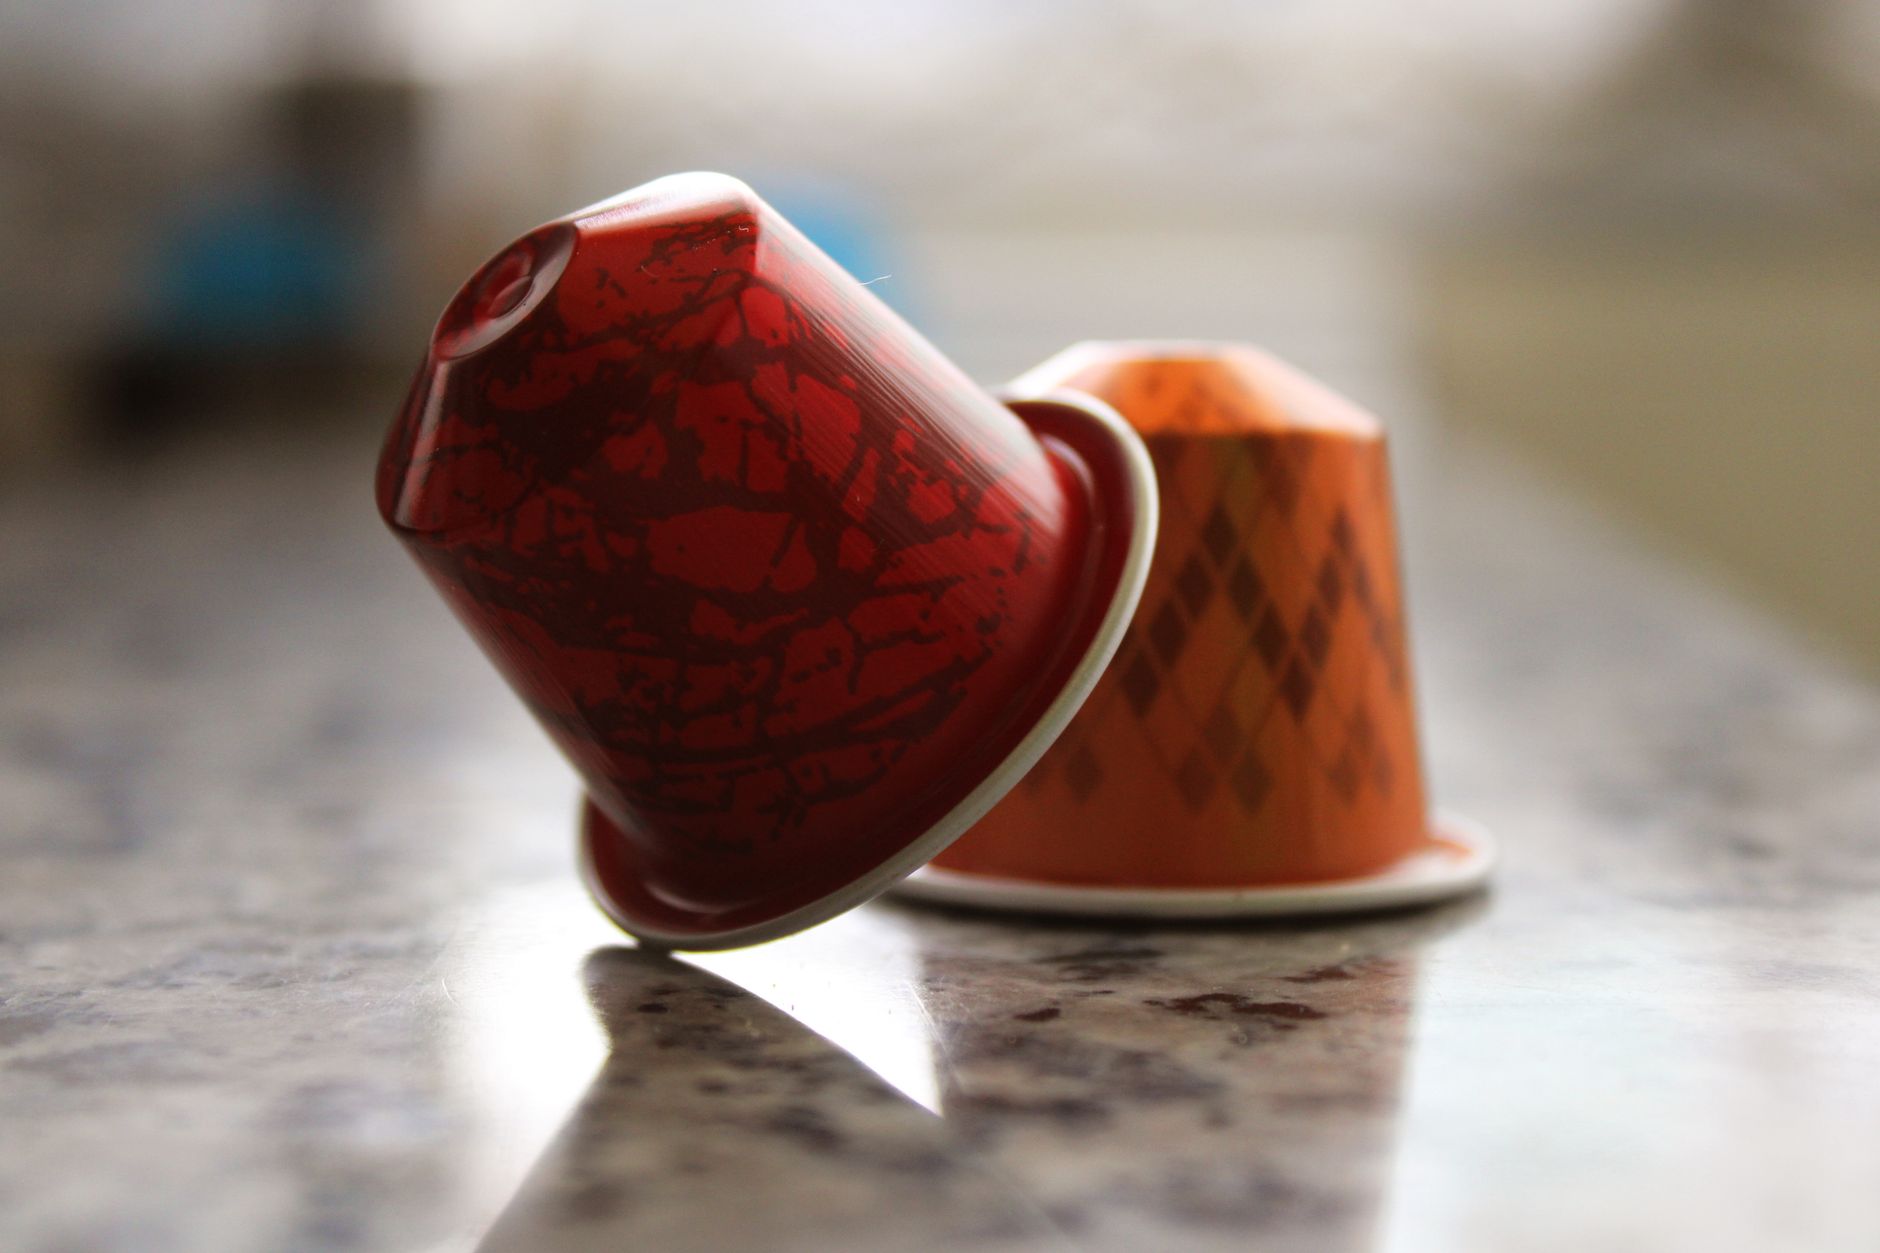
The most common coffee pod storage mistake is buying a generic insert and discovering the cells are built for a different capsule. K-Cup-style pods are about 1.9 inches across and 1.9 inches tall, so a two-inch grid holds them upright with almost no slop. Nespresso Original capsules are far smaller, roughly 1.5 inches wide and just over an inch tall, and they slide around and tip in a K-Cup grid. Vertuo pods are larger again and won’t drop into either.
Buy the coffee pod drawer insert that matches what you actually brew. On capacity: a standard 15-by-20-inch drawer interior fits somewhere around 60 to 70 K-Cups in a two-inch grid, which is roughly two and a half retail boxes. You also need about 2.5 inches of clear interior height, and drawers under a countertop overhang sometimes have less than that once the runners are accounted for.
2. Decant the beans, keep the bag
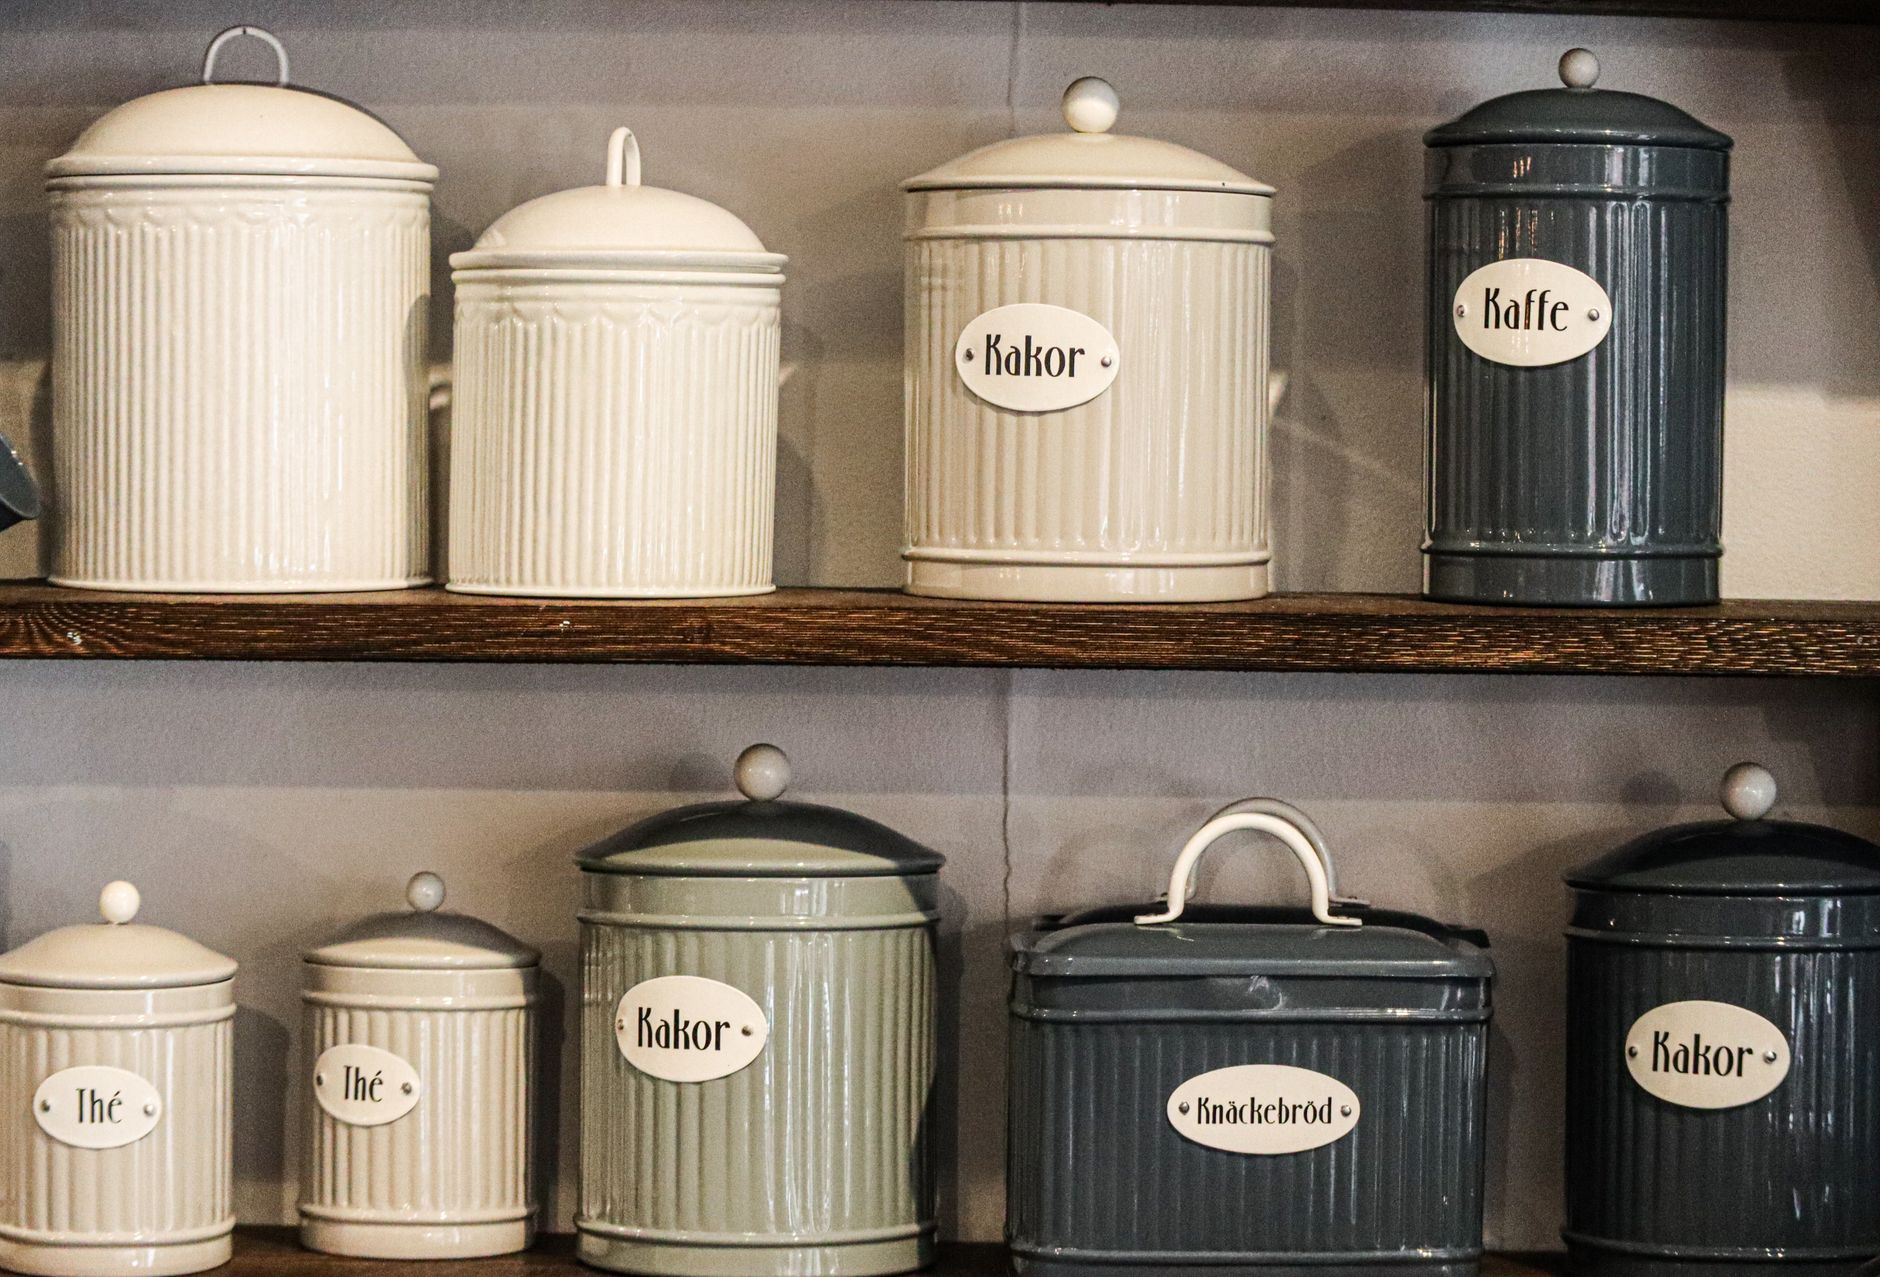
Retail packaging is the single biggest source of visual noise on a coffee station — different heights, competing logos, and none of it stands up straight once it’s half empty. Moving beans, sugar, cocoa, and powdered creamer into a stackable airtight canister set removes all of that in one pass.
Square canisters are the better buy over round when shelf space is tight; a row of four squares wastes none of the gaps that four cylinders leave behind, and they stack without needing a riser. Keep the original bag folded in the cabinet below, though, because the roast date lives on it and beans are past their peak about four weeks out.
3. Zone with trays instead of dividers
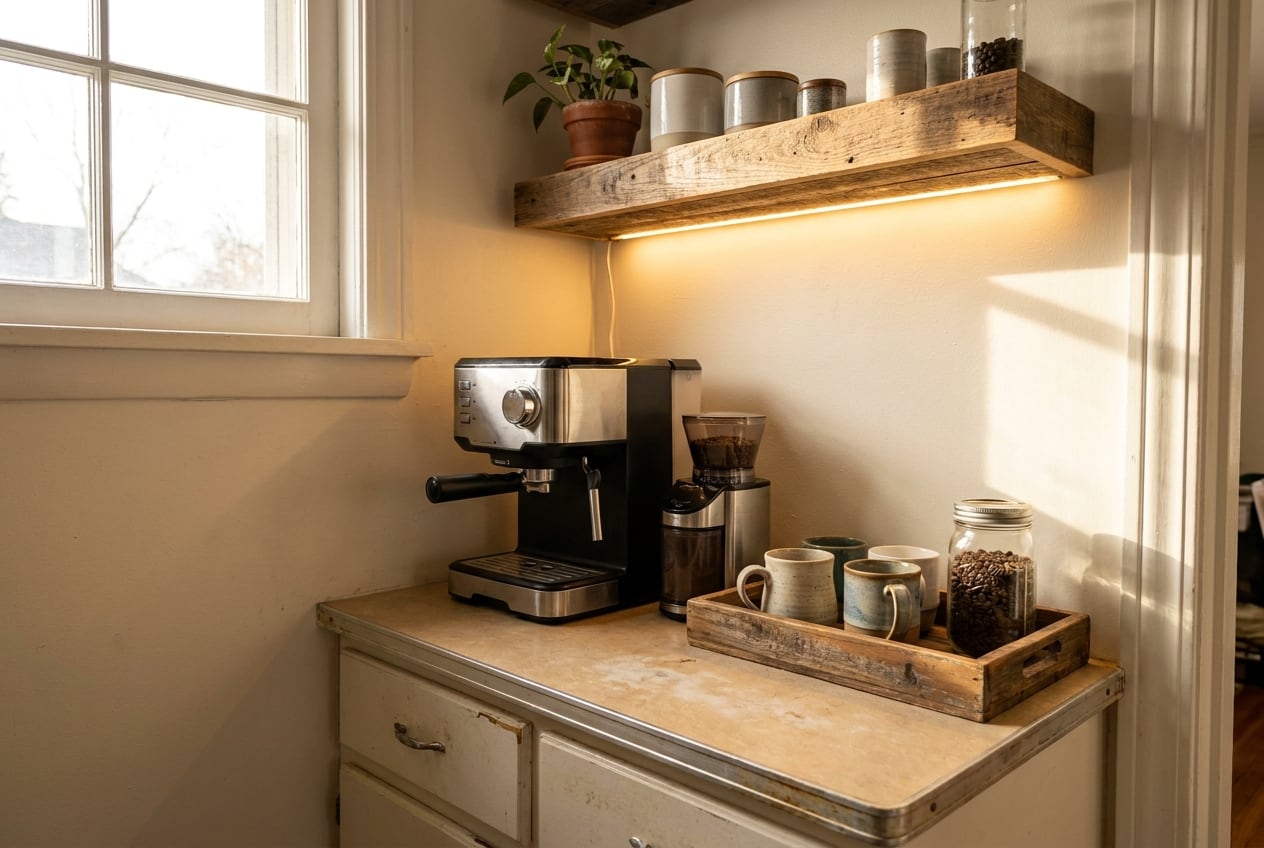
A tray is a boundary, and boundaries do more for a counter than compartments do. One tray for the sweetener and stirring group, one for mugs and spoons, and the machine standing on the bare counter with nothing else in its footprint. The effect is that anything left out has an obvious home to be returned to, which is the actual mechanism behind a station that stays tidy.
Trays in the 12-by-18 range suit a counter run; a 14- to 16-inch round works better in a corner. Two small trays read as deliberate. One large tray holding everything reads as a pile with a border.

4. Cup hooks under a shelf
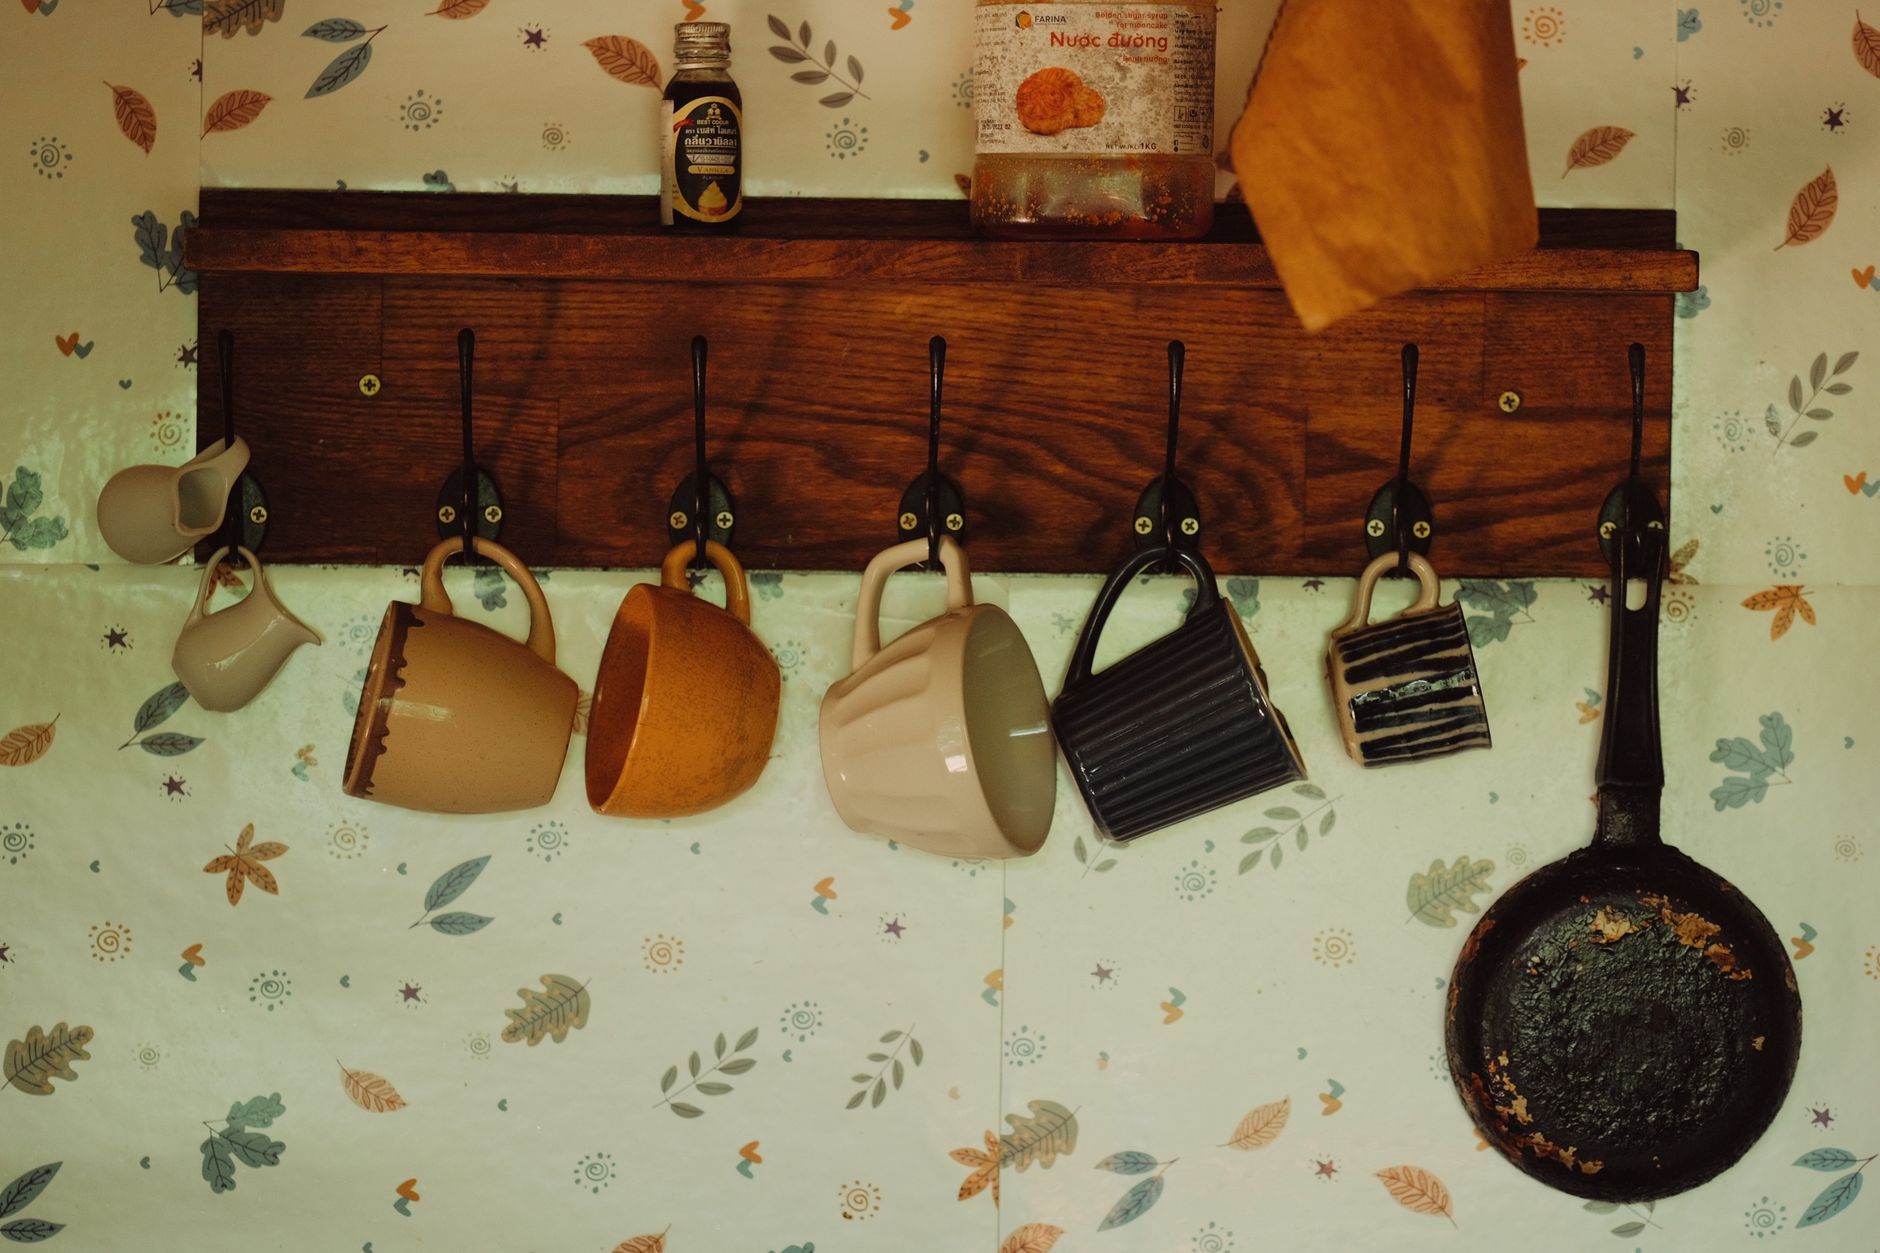
Hanging mugs is the only storage move that costs zero shelf depth, which is why it shows up in every small-space coffee bar worth copying. Brass screw-in cup hooks go into the underside of an existing shelf in about ten minutes.
Two details save a redo. Space the hooks 4 to 5 inches apart center to center, or the handles collide and mugs swing into each other. And check the hook length against the shelf: a 1-inch hook driven into a standard 3/4-inch shelf will punch through the top surface, so either use a shorter hook or drill a stopped pilot hole and stop short. Leave at least 8 inches of clearance below hanging mugs so a canister still fits underneath.
5. A riser turns one shelf into two
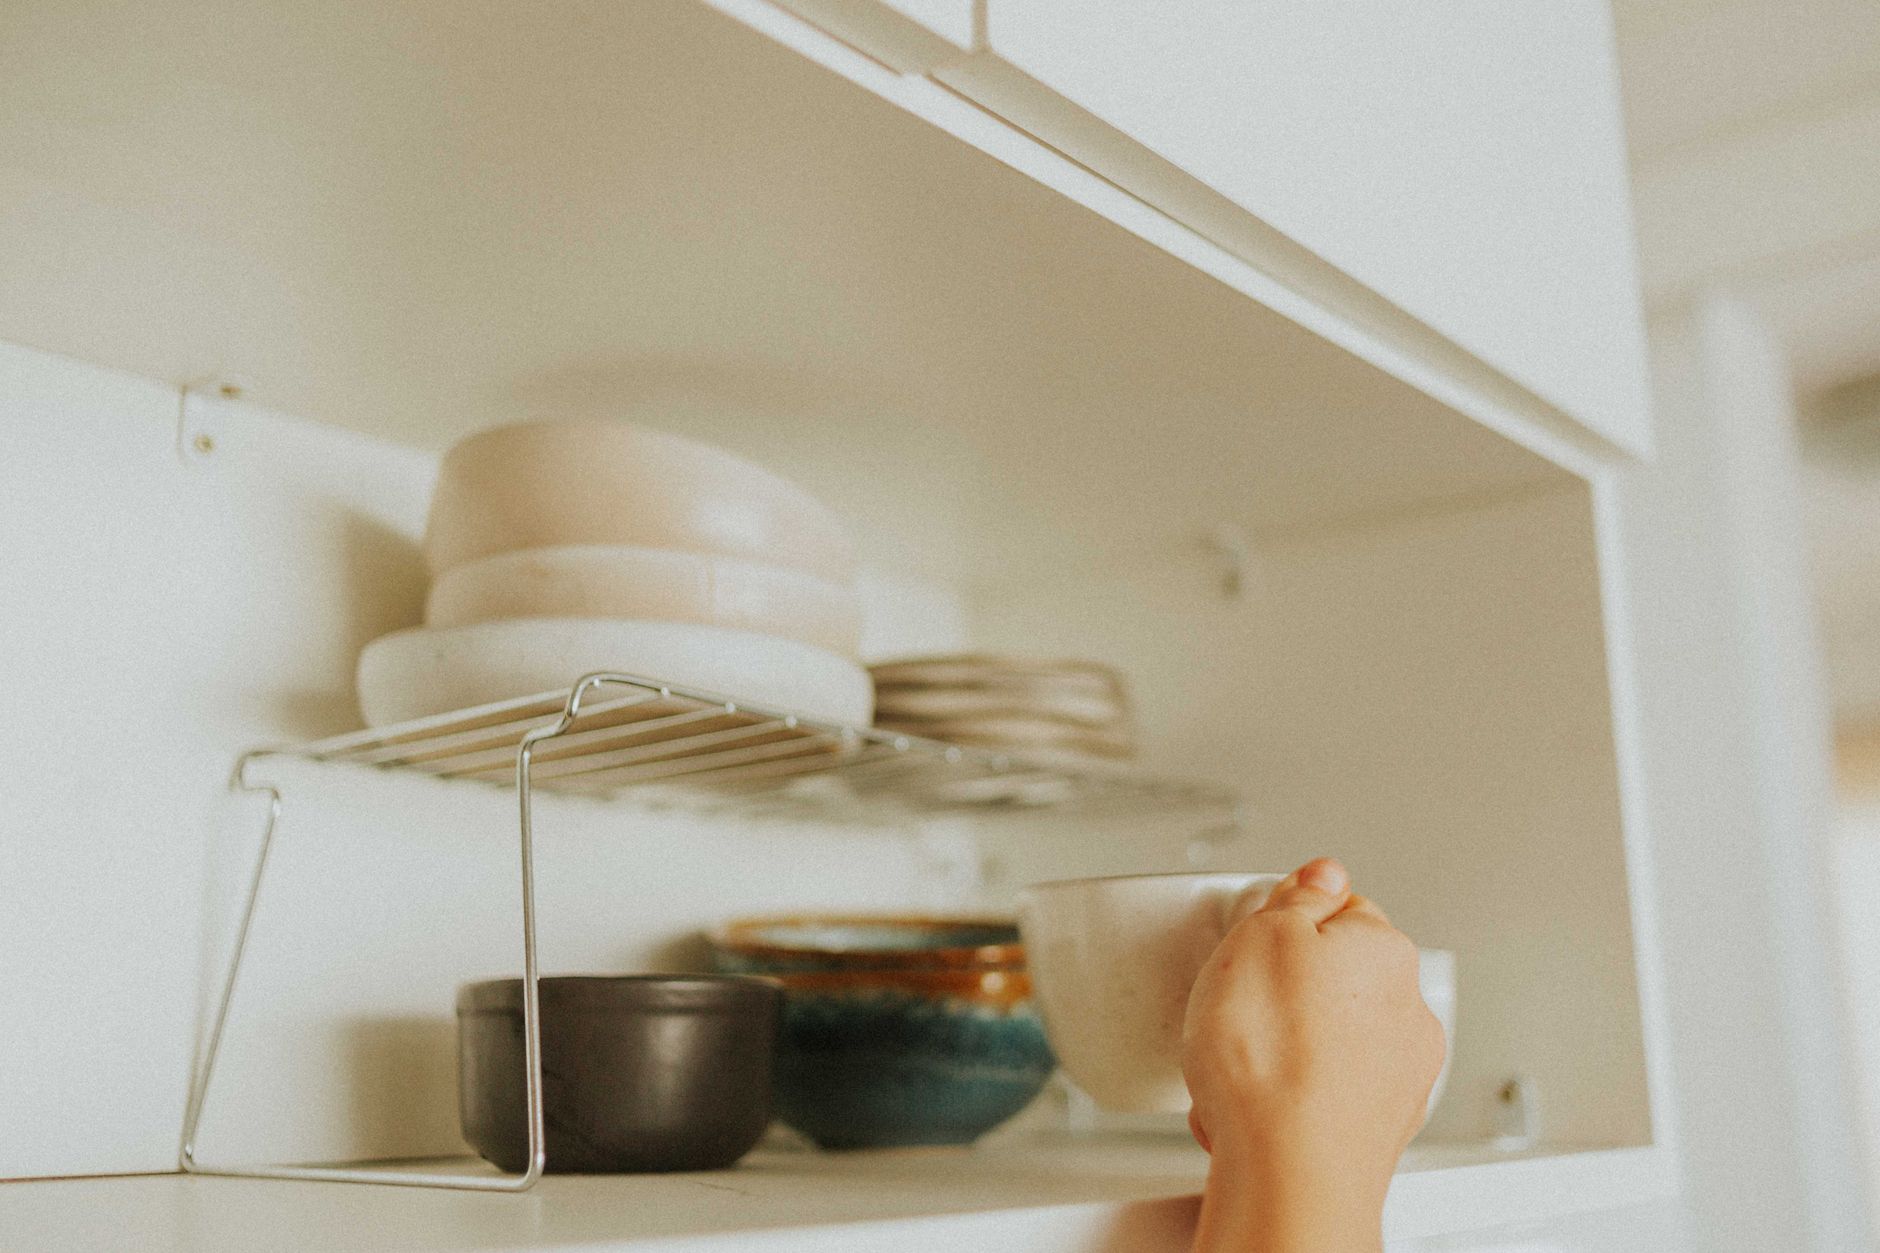
Any shelf bay taller than about 12 inches is wasting the air above the mugs. A two-tier counter riser lifts the back row roughly six inches so the second rank is visible rather than something you excavate for. Inside a cabinet, the same trick works with a shelf riser sized to the bay.
Measure the bay before ordering, because risers are sold by footprint and the number that matters is height. A shelf bay of 14 inches with a riser that lifts six leaves eight inches for the top row, which handles standard mugs and not tumblers. Expandable risers with adjustable legs cost a little stability in exchange for fitting an odd space, which is usually the right trade inside a cabinet and the wrong one on an open counter where the whole thing is visible.
The single place to skip a riser is directly above a machine that vents steam upward from the brew basket. Moisture collects on the underside and drips back into whatever is below it.
6. Under-shelf baskets for the flat stuff
Filters, napkins, stirrers, and sugar packets are all thin, all awkward, and all prone to sliding into a drift at the back of a cabinet. An under-shelf wire basket clips onto an existing shelf and creates a shallow tray in the gap nothing else uses.
Measure the shelf thickness before buying. Most clip-on baskets are built for shelves up to about 1.25 inches, and a solid wood shelf with a bullnose front edge is frequently thicker than that at the point where the basket has to grip.
7. The inside of the cabinet door is storage
Three to four inches of dead space sits between a closed cabinet door and the front edge of the shelf, and it fits exactly the things that get lost everywhere else: filter packs, sugar packets, small tools, the descaler bottle. An over-door cabinet organizer rack claims it.
Measure before ordering. Lay a ruler flat across the cabinet face and check the distance to the shelf front, then confirm the rack is shallower than that number. Cabinets with full-overlay doors and shelves set flush to the face frame usually have no room at all, and the rack will hold the door open by half an inch — visible from across the kitchen and impossible to un-see.
8. Give the ugly tier one drawer
Every station accumulates items that have to be nearby and shouldn’t be visible: descaling solution, spare filters, the water filter cartridges, the manual, a replacement gasket, the little brush. Scattering them across three locations guarantees you’ll buy a second descaler because the first one is behind the stand mixer.
One drawer, sectioned with an expandable bamboo drawer organizer, holds the lot. Expandable is the right call here because coffee-station drawers are rarely a standard width, and a fixed tray leaves either a two-inch gap or doesn’t go in.
9. A turntable for anything in a bottle
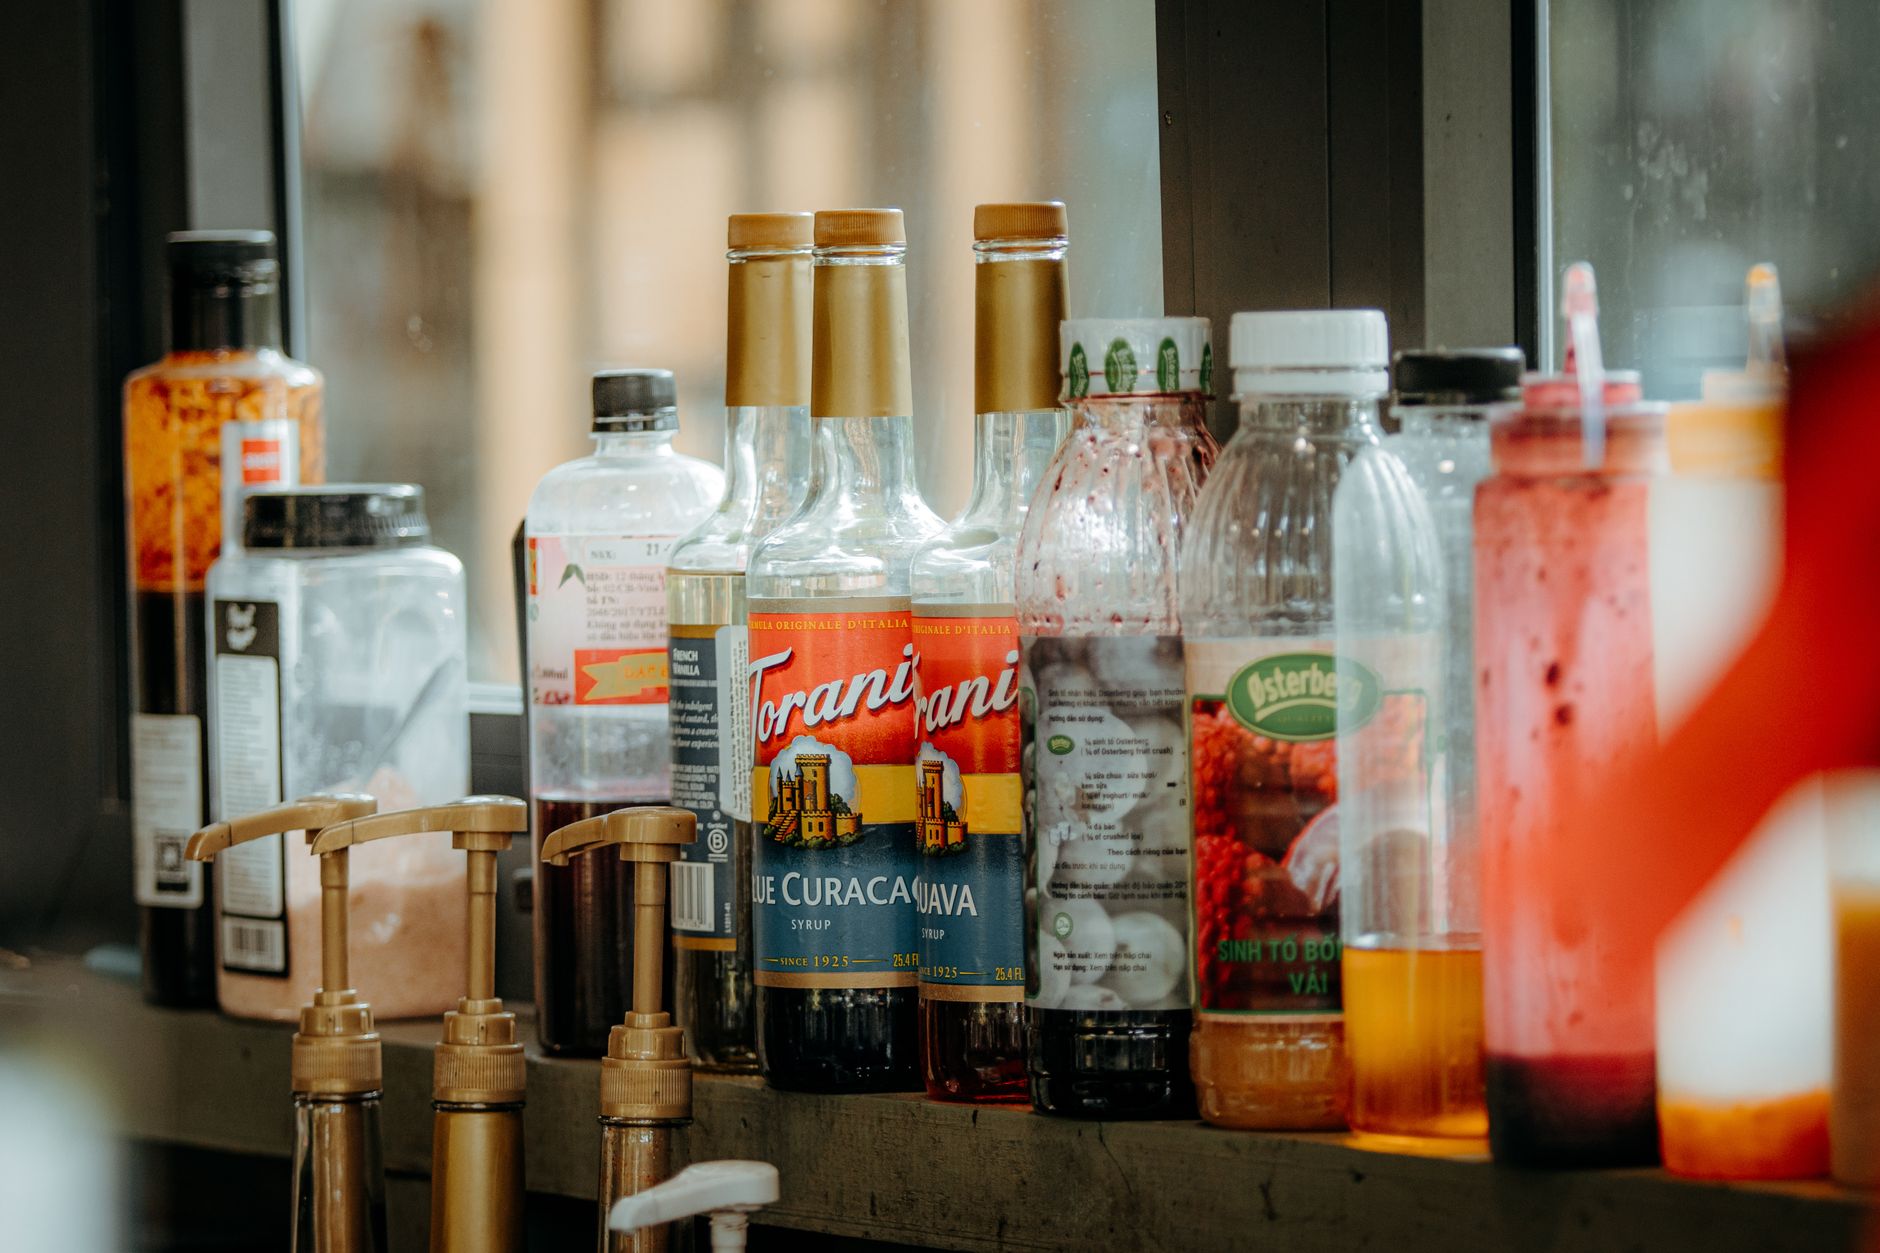
Syrup bottles, vanilla, honey, chocolate sauce. These end up in a back row where the labels face away and you knock over two reaching for a third. A 12-inch lazy susan turntable holds roughly six standard pump bottles and turns the reach-behind problem into a spin.
Worth knowing before you plan a cabinet around them: a 750ml syrup bottle with the pump installed stands 11 to 12 inches tall, which clears an open counter and does not clear most wall cabinet shelves.
10. Store filters vertically
Paper filters stored flat get bent, and bent filters seat badly in the basket. A napkin holder, a small letter sorter, or a photo frame stand keeps a stack of #4 cones or basket filters upright and lets you pull one without disturbing the rest. It’s a repurposing move rather than a purchase, and it’s the kind of thing nobody thinks of until they’ve fished a creased filter out of the back of a drawer.
11. Labels that don’t read as cluttered
Labeling gets a bad reputation because most labeled stations are over-labeled. Three rules keep it clean.
Label only what’s genuinely ambiguous. Whole beans versus decaf beans, sugar versus a sugar substitute — those need labels. A glass jar of visibly identifiable cocoa does not.
Keep every label identical in size, typeface, and position. Mixed label styles are what actually reads as clutter, not the labels themselves.
Label the lid, not the face, when the container is glass. You see the contents from the front and read the label from above, which is the angle you’re at when you open it anyway.
12. The overflow rule
The rule that holds the other eleven together: the station holds one open unit of each thing, and backstock lives somewhere else entirely. One bag of beans in the canister, one box of pods in the drawer, one sleeve of filters in the basket. The unopened cases go in the pantry, the garage, the linen closet — anywhere that isn’t the coffee bar.
Without it, every organizing system on this list becomes a warehouse within two grocery trips, and no insert or basket survives that. It matters most in apartments, where the station is often doubling as pantry overflow already; the workarounds in apartment coffee bar ideas mostly come down to enforcing this one.
Where organization stops and equipment starts
A well-organized station full of the wrong gear is still a station you don’t use. If the layout is sorted and the coffee still isn’t right, the problem is upstream in the coffee bar essentials — usually the grinder. And if the station has simply outgrown the surface it’s on, no insert will fix that either; the coffee bar cabinet guide covers the sizing math for the next step up.
Some links in this article are affiliate links — if you buy through them we may earn a commission at no extra cost to you. Details.